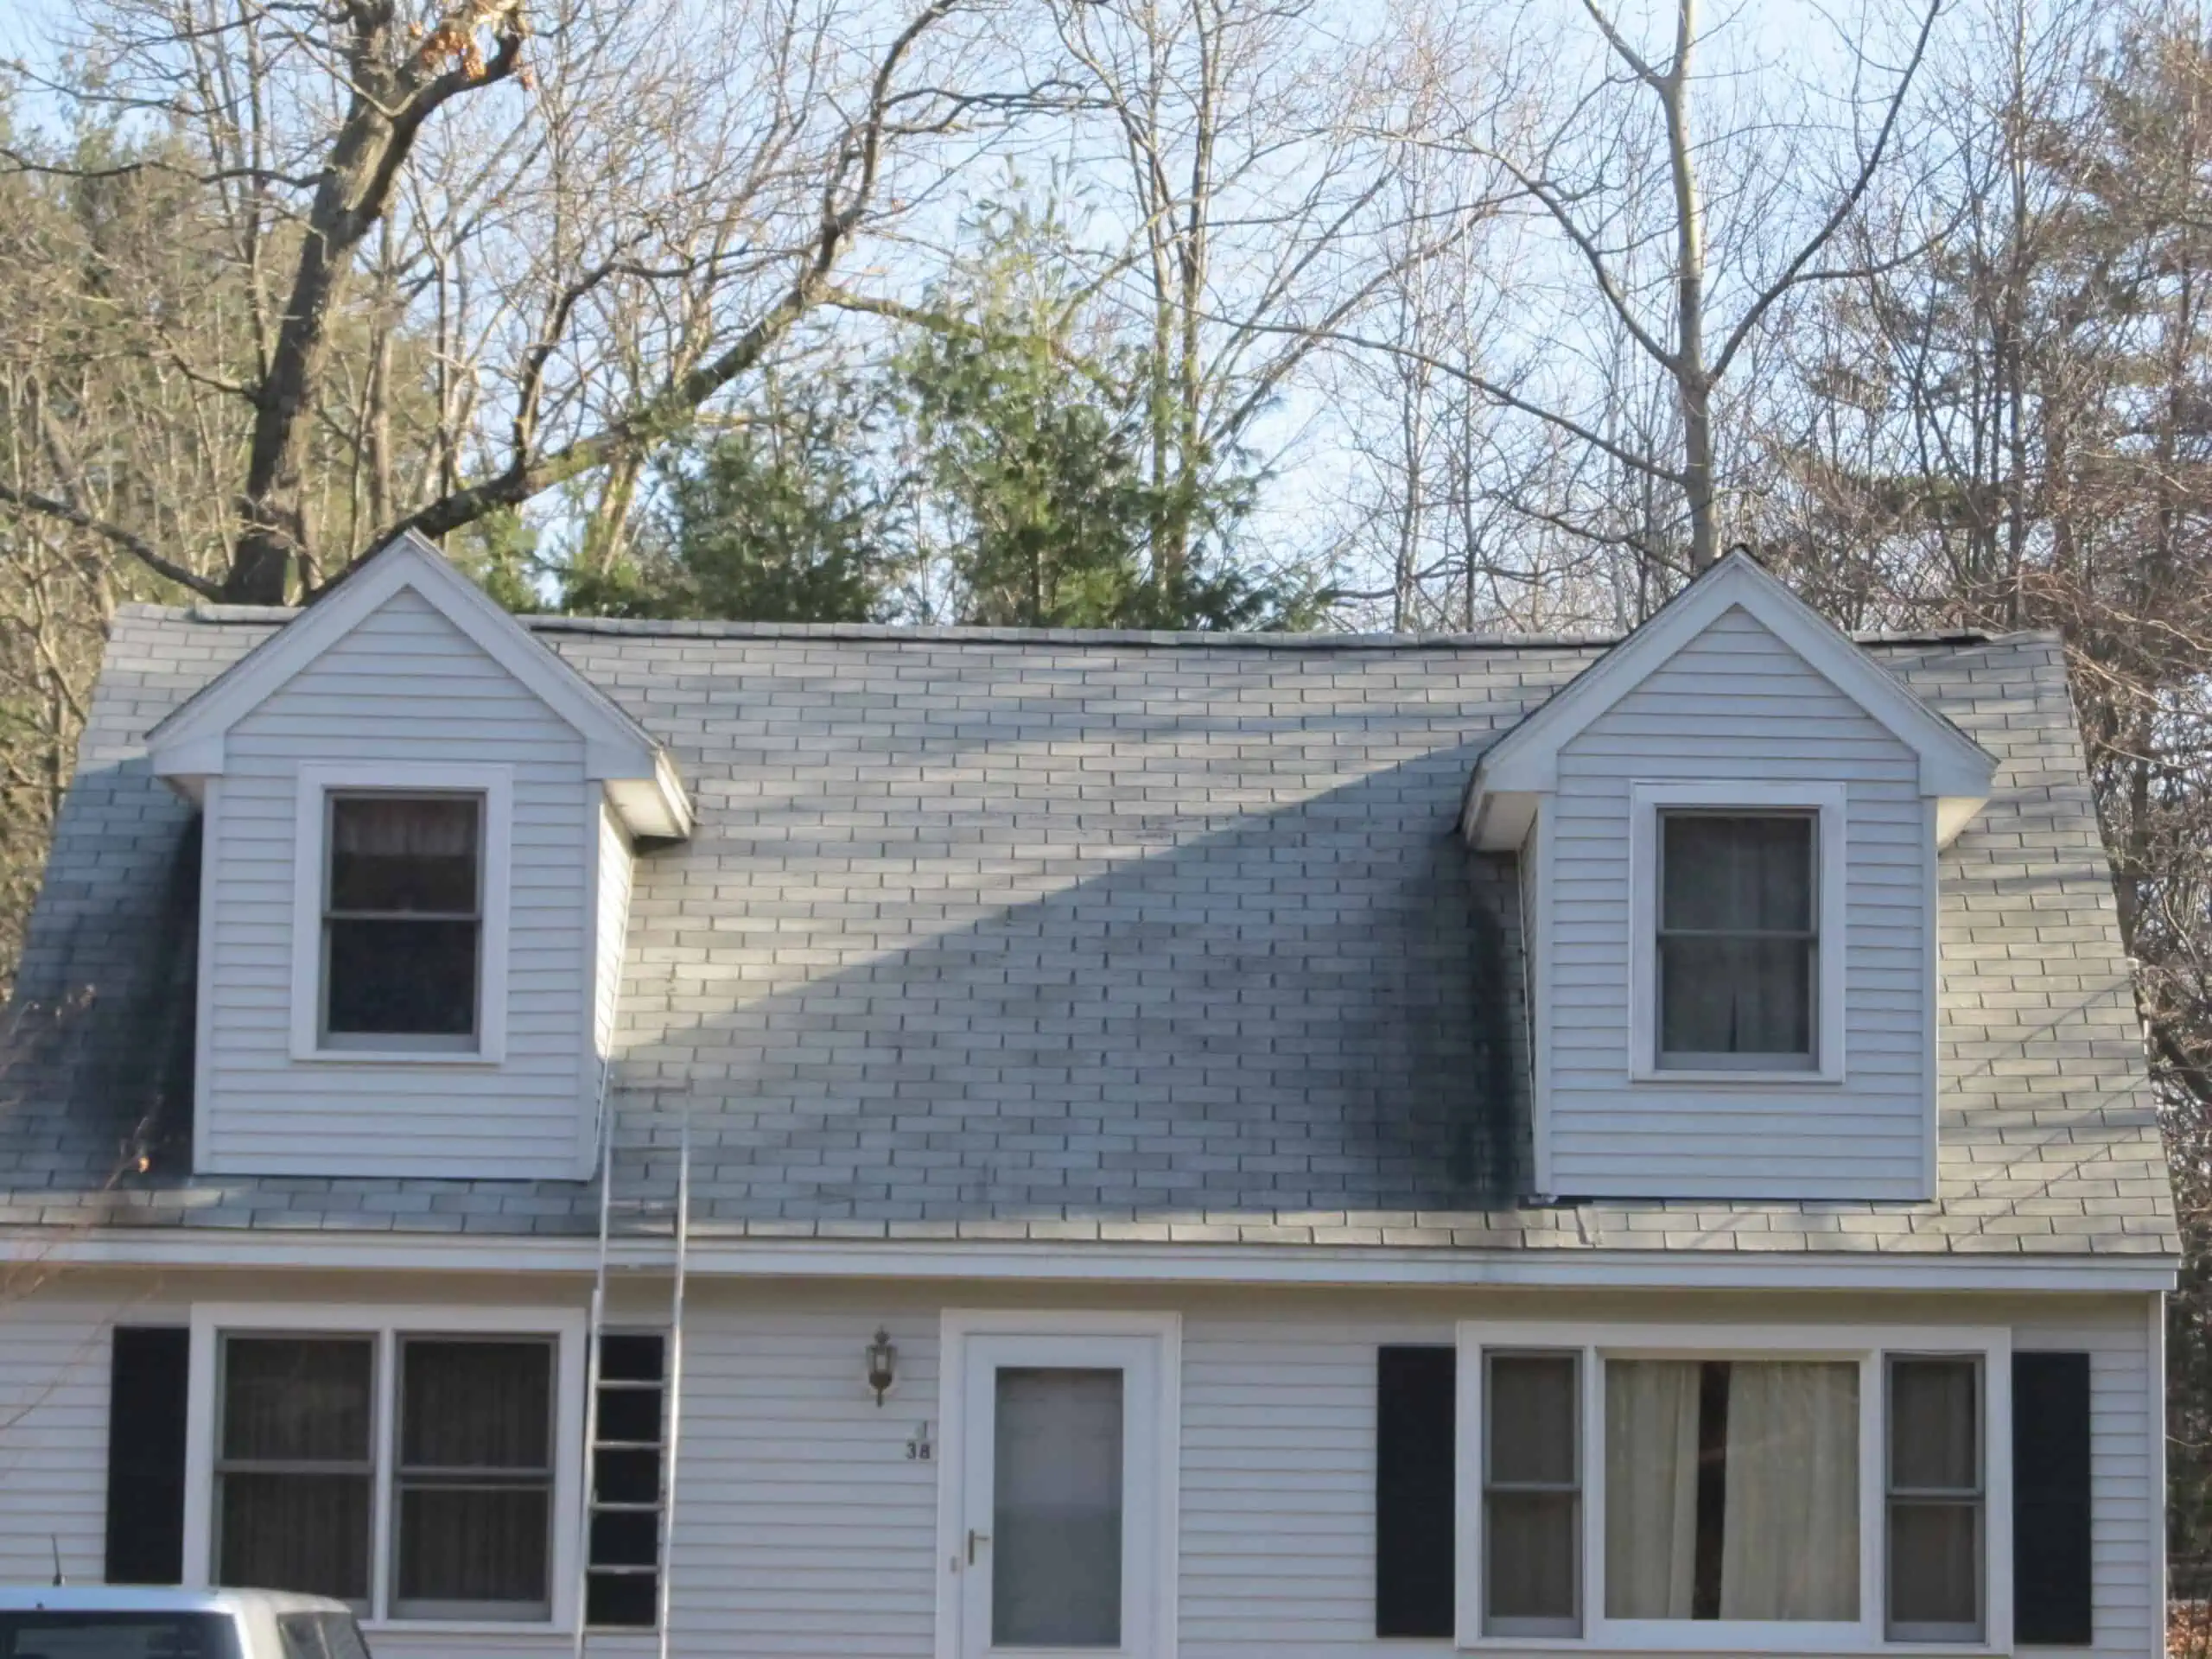
Not many homeowners will venture to shingle their own roof but, for the intrepid do-it-yourselfer, here are some helpful tips, pointers and a basic outline on how to shingle a roof.
Materials needed to Shingle a Roof
Obviously, you’ll need shingles and your local roofing store or big box retailer can help you decide on the best product for your exact needs. You’ll also need some other items whose use we will describe later including the following; conventional and plastic cap roofing nails, roofing paper, flashing, the appropriate plastic or metal vents, and roofing sealant.
Equipment needed to Shingle a Roof
The equipment needed is fairly basic and includes one or more of the following; a hammer, a utility knife with roofing blades, a level, a chalk line, a caulking gun, a ladder and an optional scaffold. While it can be done, no professional roofers will attempt this job without an air-powered roofing nail gun. It is highly recommended.
Preliminaries
Before installing a new roof, the old one must be removed and any structural deficiencies in the sheathing should be repaired or replaced. It is beyond the scope of this tutorial to describe these tasks but both are required before you start the actual shingling process. Further, they are not difficult to accomplish but some experience and the proper tools make the process much easier.
The Process of Installing a Shingle Roof
Installing a shingle roof involves several distinct stages that need to be completed in the proper order so that the roof is water tight and firmly affixed to the sheathing.
Roofing Paper
Once the preliminaries are completed, you can start to install your shingle roof. The first step is to roll out and secure a layer of roofing paper across the entire surface with the plastic cap roofing nails. These nails have a large, usually orange, circular piece of plastic that will help keep the paper in place without tearing.
Start the process at the bottom edge of the roof and be sure to overlap the edges where the paper meets by at least two inches. Also, leave an extra one inch of paper at the bottom and side edges. The next step will tidy up these edges.
Drip Edge
The drip edge is a piece of L-shaped metal that covers the paper and attaches to the side of the eave. It is intended to keep any water from penetrating under the roof and damaging the paper and sheathing. It is simple to install. Just lay it over the roofing paper and nail at one foot intervals. Be sure to overlap these joints as well.
Starter Row
The first row of shingles is installed to ensure a water tight seal at the bottom of the roof. The first row is installed in an inverted manner, that is, with the shingle tabs pointing towards the roof. A second row is laid directly on top of this row staggered by half a shingle and with the tabs pointing towards the bottom edge of the roof.
Once this double layered row of shingles is installed, use it as a baseline to pop a chalk line every ten inches from the bottom of the roof to the top. This will help keep the shingles straight and spaced appropriately in the next stage of the process.
The Main Area
At this point, installing the main area of the roof is rather simple. Be sure to overlap the horizontal joints, stagger the shingles and leave a gap of 1/16” between the shingles. It will be necessary to cut some shingles in half for every other row to accomplish this. In addition, each shingle should be fastened with four roofing nails. The nails should always be placed towards the top of the shingle so that the next course of shingles will completely cover them. Of course, any exhaust vents should be installed prior to installing the shingles themselves.
Ridge and Hip Shingles
The interfaces where different roof surfaces meet are called ridges or hips. Shingles should meet here but not overlap. Instead, a second layer of specially cut shingles will cover this joint and provide an improved appearance to the entire job. Again start at the bottom with a double course and proceed towards the top.
Final Sealing
Now, with an essentially completed shingle roof, it is still necessary to use a caulking gun, spatula or some other tool to apply the roofing sealant around the vents and any joints not covered by ridge or hip shingles.
A Final Note on Roof Safety
Height, heavy materials and powered equipment can be a recipe for disaster so be sure to take your time transporting the materials, using your tools and cleaning the site after the job is completed. A stray nail in someone’s foot can be a terrible end to an otherwise excellent job. Always practice proper job safety. Remember, Safety First!

